


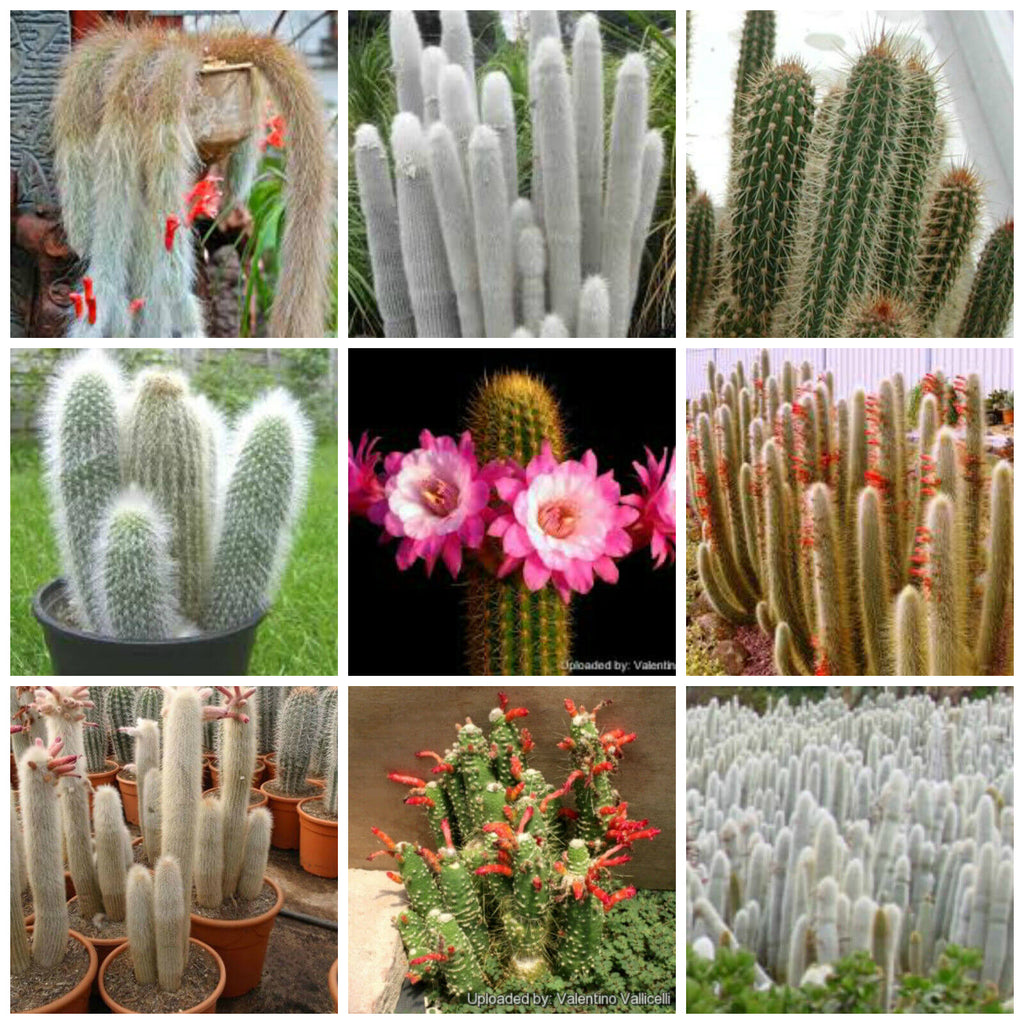
Cleistocactus mix - 10 seeds
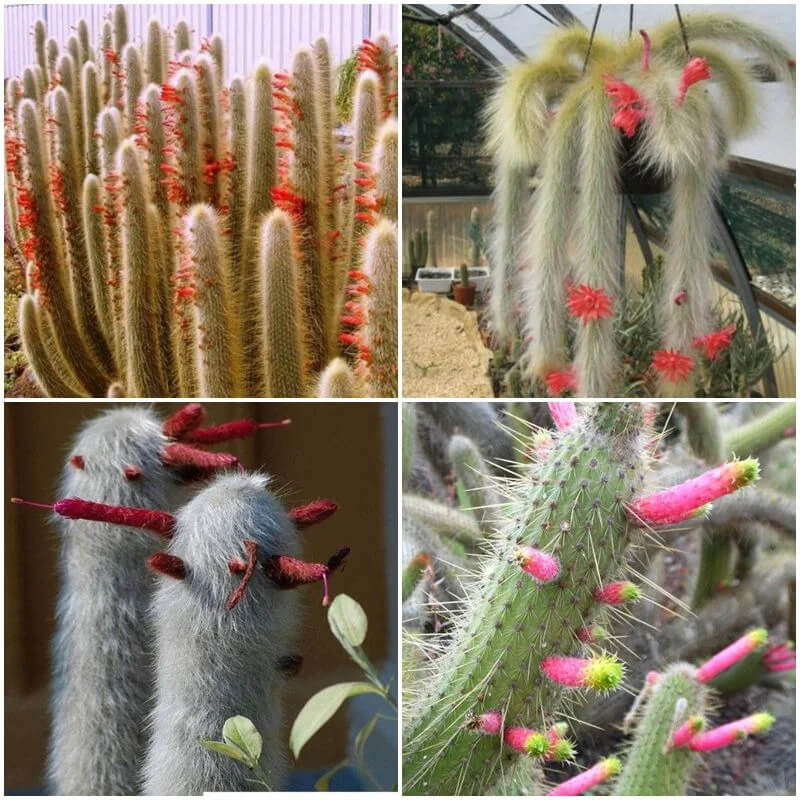
Cleistocactus is a genus of columnar cacti from Peru, Uruguay, Bolivia and Argentina. Cleistocactus is a popular cactus genus containing between 50 and 100 species depending on the author. In the recent years a number of genus have been regrouped in Cleistocactus, making this genus quite large. Species from these genus have been included: Akersia, Bolivicereus, Borzicactella, Borzicactus, Hildewintera, Seticereus, Seticleistocactus, Winteria, Winterocereus, Yungasocereus. The name Cleistocactus comes from the Greek for "closed cactus" referring to the appearance of the flowers. Suitable for the home or a greenhouse. Cleistocactus are slender stemmed sometimes hairy shrubs but some species are thicker and some do branch up from the base. Straight or slightly bent flowers are long and thin not opening widely, only the style and stamens usually protruding, in july through september. Flowers have many color combinations but red is the most dominant color. Hardiness zones 9-11.
HOW TO GROW?
- You can sow the seeds in the month of your preference as long as you keep a warm temperature of at least 21º (70ºF) in the room where you are going to put the pot or clay pot. Although, it is recomended to sow the Cleistocactus seeds in spring because that is the growing season.
- As the Cleistocactus are easy to grow, the container you can use can be a seed tray or a pot. When selecting the container that works for you, remember to consider the materials of your substrate, if the substrate does not have perfect drainage consider using a clay pot because they dry out quickly.
- The soil to use is the same for almost every cactus, and succulent - it has to be porous with perfect drainage. Combine sand, pearlite, peat, vermiculite, etc. with cactus mix. If you are unable to find the cactus mix, you may use a potting mix. Do not forget to sterilize the soil before sowing.
- Fill the pot with the substrate, water it, and proceed to spread the seeds all over the soil. It is optional that you add a thin layer of the substrate after spreading the seeds. Spray the seeds to give them humidity.
- Cover the pot with clear plastic, a white paper, a sheet glass, or a plastic bag. Put the container in a light shadow for a few weeks until the seedlings appear. Do not open it until successful germination. If there is enough humidity inside bags there will be no need to open it and water again. If soil is drying out during germination process that means that it isn’t watered well or not covered good with zip bag or similar.
- Maintain temperature of 22°C-25°C (71°F-76°F) but during the night it can go down to 15°C (59°F).
- Once the seedlings appear, remove the cover of the pot. The seedlings need to meet the sun, to do that you must put them in direct sunlight a few minutes a day. Increase the time when they are growing until they are fully accustomed to the sunlight.
- Wait three weeks more, and transplant the plants. They will usually resume their growth in three to eight weeks. Do not forget to sterilize the new substrate and to remove the old one from the roots of the plant. If you prefer you can use the rotten hormone to accelerate the process.